
Soil testing is most useful when it answers a clear question: what nutrients and pH are present, how conditions differ across a holding, or whether a management change is producing a measurable result. Choose the test first, follow its sampling instructions and keep enough records to understand what the result represents.
This guide is for UK farmers and small growers planning laboratory analysis, with a separate explanation of relevant rules in England. It covers preparation and interpreting the scope of a report, rather than prescribing fertiliser rates. Sources and regulatory guidance were checked on 5 November 2026.
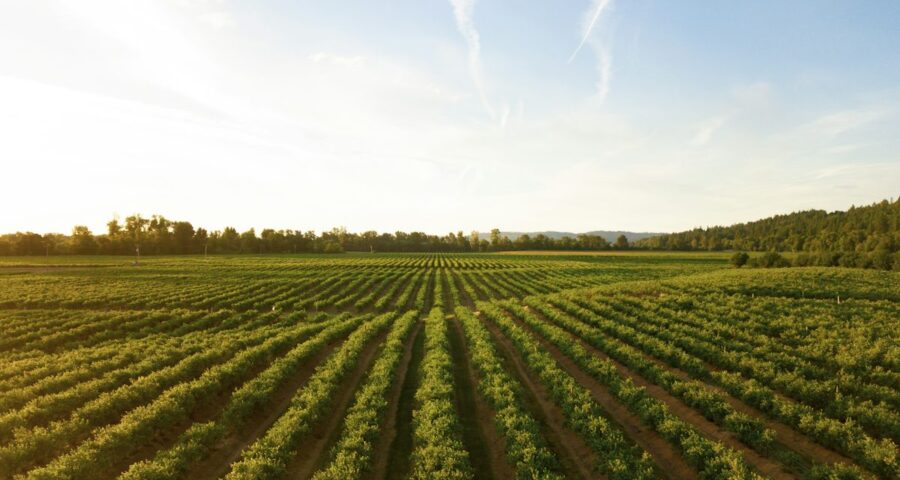
Featured photograph: crop rows at sunset, by Dan Meyers / Unsplash. Photographs are illustrative, not records of sampling at a named UK farm.
Start with the decision you want the test to inform
Before ordering a package, write a one-sentence purpose. For example: “I need current nutrient information for this field before reviewing the cropping plan.” That gives you a basis for asking a laboratory which analysis is appropriate and which background information it needs.
A broad request for “soil health” can hide several different questions. The Soil Association’s testing guidance distinguishes mineral, structural and biological aspects of soil health and recommends combining basic analysis with observation in the field. A nutrient report is one source of information within that wider assessment.
Separate a routine nutrient-management question from a suspected contamination problem, an issue with growing media or a crop disease investigation. Ask explicitly whether the proposed test addresses your concern. Do not pay for a familiar package merely because its name sounds comprehensive.
What can a soil analysis report include?
Ask the provider to list the measurements included, the methods used and whether interpretation is supplied. The RHS soil analysis service, for example, describes testing texture, pH, organic matter and potassium, phosphorus and magnesium for garden soils. It also sets out exclusions, including potential contamination and soil-borne pests and diseases. Its service is an example of a defined scope, not a recommendation that a garden package suits a commercial field.
For agricultural testing, AHDB’s directory of soil and forage testing companies is a starting point for identifying providers. Confirm directly that a laboratory offers the analysis, sampling support and interpretation you need. Inclusion in a directory is not a substitute for a project-specific conversation.
Request an example report if you are unsure what you will receive. Check whether recommendations are included, supplied separately or expected to come from your own adviser. A result and a recommendation are different deliverables.

Plan where each sample will come from
Give every sampling area a clear identifier that can be used on a map, the bag and the submission form. Avoid descriptions such as “back field” if several people use different names for the same place. The aim is to be able to connect the report to the ground it represents without relying on memory.
Think through known differences before collecting soil. In its guidance on measuring nutrients, pH and organic matter, AHDB explains that representative sampling matters and areas with important differences in soil or management history should be sampled separately. It also gives different depth guidance for different land uses and cultivation systems. Follow the appropriate protocol rather than applying one depth to every field.
Discuss the proposed areas with the laboratory or adviser before setting out. If you want to investigate an unusual patch, make that purpose clear. Mixing it into a general sample may not answer the question you are trying to ask.
A practical preparation sheet
- Sampling-area identifier and map reference.
- Purpose of analysis and agreed test package.
- Current and previous land use or cropping.
- Relevant fertiliser, manure and lime application history.
- Agreed sampling method, depth and timing.
- Person responsible for collection, submission and reviewing results.
This sheet does not replace the laboratory’s instructions. It makes those instructions easier to follow consistently and gives the person interpreting the report useful context.
Agree timing, equipment and packaging before collecting
Ask the provider what recent applications or soil conditions would make sampling inappropriate and when it should instead be carried out. Tell it about recent management rather than leaving the laboratory to guess. AHDB’s sampling guidance includes restrictions after applications and cautions about very dry conditions; use its detailed instructions with the protocol selected for your test.
Obtain the correct containers and submission forms before the day. Confirm the amount required, labelling, storage and dispatch arrangements. If someone else will collect the samples, give them the same written instructions and identifiers you used when ordering.
Plan a final check before dispatch: every bag should match a form, every identifier should match the map and every requested analysis should be recorded. Take a copy of the submission information for your own records. A clear administrative trail is a simple way to avoid confusion when several reports return together.
England’s Farming Rules for Water: where testing fits
Current GOV.UK guidance on the Farming Rules for Water applies to England. It requires planning organic manure and manufactured fertiliser applications, taking account of soil and crop need and pollution risk. For cultivated agricultural land, plans must take soil test results into account; the guidance specifies pH and nutrient information and says the results must be no more than five years old at application. Nitrogen supply can be assessed instead of tested.
Read the official definition of cultivated agricultural land and the full requirements rather than treating “five years” as the whole rule. This is an England-specific framework, not a statement of the rules for all four UK nations. Ask an appropriate adviser about your own holding, including any additional requirements that apply.
Keep the test report alongside the planning records it informs. Having a report somewhere in the office is different from being able to show which field, date and planned application it relates to.
How to read the report without jumping to a treatment
First check the basics: sample identifier, sampling date, requested analysis and any laboratory comments. Then check the units and the explanation of any index or category. If something looks unexpected, ask whether the submitted information or method could explain it before assuming the field has changed.
Review the result with the cropping and management context. Our earlier article on why farmers use fertilisers provides general background; an actual nutrient plan needs the relevant field information and qualified interpretation. Avoid converting a number into a product purchase without understanding the recommendation.
For example, imagine two neighbouring areas with different cropping histories that have been combined under one sample identifier. A report may arrive with clear numbers, yet the grower may still be unable to answer which area needs attention. The appropriate next conversation is about what the sample represents, not which bag of fertiliser to order. This is an illustrative scenario, not a real farm result.

Build a useful record for the next test
Store the report with its sampling map, collection notes and any interpretation received. Record the decision made and who reviewed it. That creates a useful reference for the next discussion, even if the immediate decision is to obtain more information.
For comparison over time, check that the method and sampling approach are comparable. Ask the laboratory before comparing results obtained in different ways. Keep observations from the field alongside the laboratory record, rather than expecting the report to describe every physical condition you have seen.
This approach connects with our post-harvest food-loss checklist: define the question, retain a reliable baseline and document the change you want to assess. Evidence is easier to use when the collection process is recorded.
A short brief to send to the laboratory
Try a message such as: “We want to review nutrient planning for the areas marked on the attached map. Please confirm the analysis needed, sampling instructions and what interpretation is included. We can supply cropping and application records. Please also explain any conditions that would make the proposed collection date unsuitable.” This is an example enquiry, not a laboratory protocol. Adapt it to your circumstances and wait for the provider’s instructions before collecting soil.
Frequently asked questions
Does a nutrient test check for contamination?
Do not assume so. Ask the laboratory for the exact scope. The RHS explicitly excludes potential contamination from its garden-soil service.
Can one sample represent every field?
Not automatically. Discuss separate sampling areas where soil, management or land use differs, using the laboratory’s protocol and appropriate agricultural guidance.
Is the same sampling depth right everywhere?
No. AHDB gives different guidance for land uses and cultivation systems. Confirm the correct depth for your purpose before collecting.
How much will soil testing cost?
Ask for a current quotation covering the tests, any sampling service, interpretation and dispatch costs. Different packages are not necessarily equivalent.
Should I order fertiliser as soon as the report arrives?
First understand the findings in context and how they inform the nutrient plan. Ask the laboratory or a suitably qualified adviser to explain anything unclear.
Leave a Reply